


(via)
Honestly, it's a LOT more simple than you would think! Hopefully this tutorial will help you figure out how to create your own envies!
Kay's Envelope Tutorial
Materials:
- paper of your choice.
- scissors.
- glue stick or other sticky substance.
- writing utensil.
- ruler.
- hard surface.
- envelope that has been taken apart.

Now, about the 'envelope that has been taken apart' bit. You can literally use any envelope you want. You can print out a template, create your own, buy a stencil....But I choose to just take apart existing envelopes. I find that it gives me a wide variety of shapes and sizes to choose from, plus, it's free! The key is to VERY carefully feel the envelopes apart. It's a serious pain when there is even the smallest chunk of paper missing, especially when you begin the tracing process.
First, you want to position the paper of your choice on your hard surface. Make sure that you place your template on the BACK of the paper so that your tracing marks do not show on the patterned side or the side that you want to see. I chose the large book that I pulled the paper of my choice out of. I managed to find a GIANT book of Anne Geddes photos that is PERFECT for envelope making! All you need is a page large enough to accommodate your envelope template.

Next, you will begin tracing the envelope onto the paper. Make sure that the envelope does not move, otherwise it will be difficult to fold because your tracing won't line up with the correct folding sections. I have found that the best writing utensil is a pencil, however I do often use a ballpoint pen or very thin Sharpie pen. You should end up with something similar to this:

And now...THE CUTTING! Make sure to be as exact as possible. It really makes a difference when you are folding the envie. I use scissors, but you can also use an Xacto blade if you find that easier.


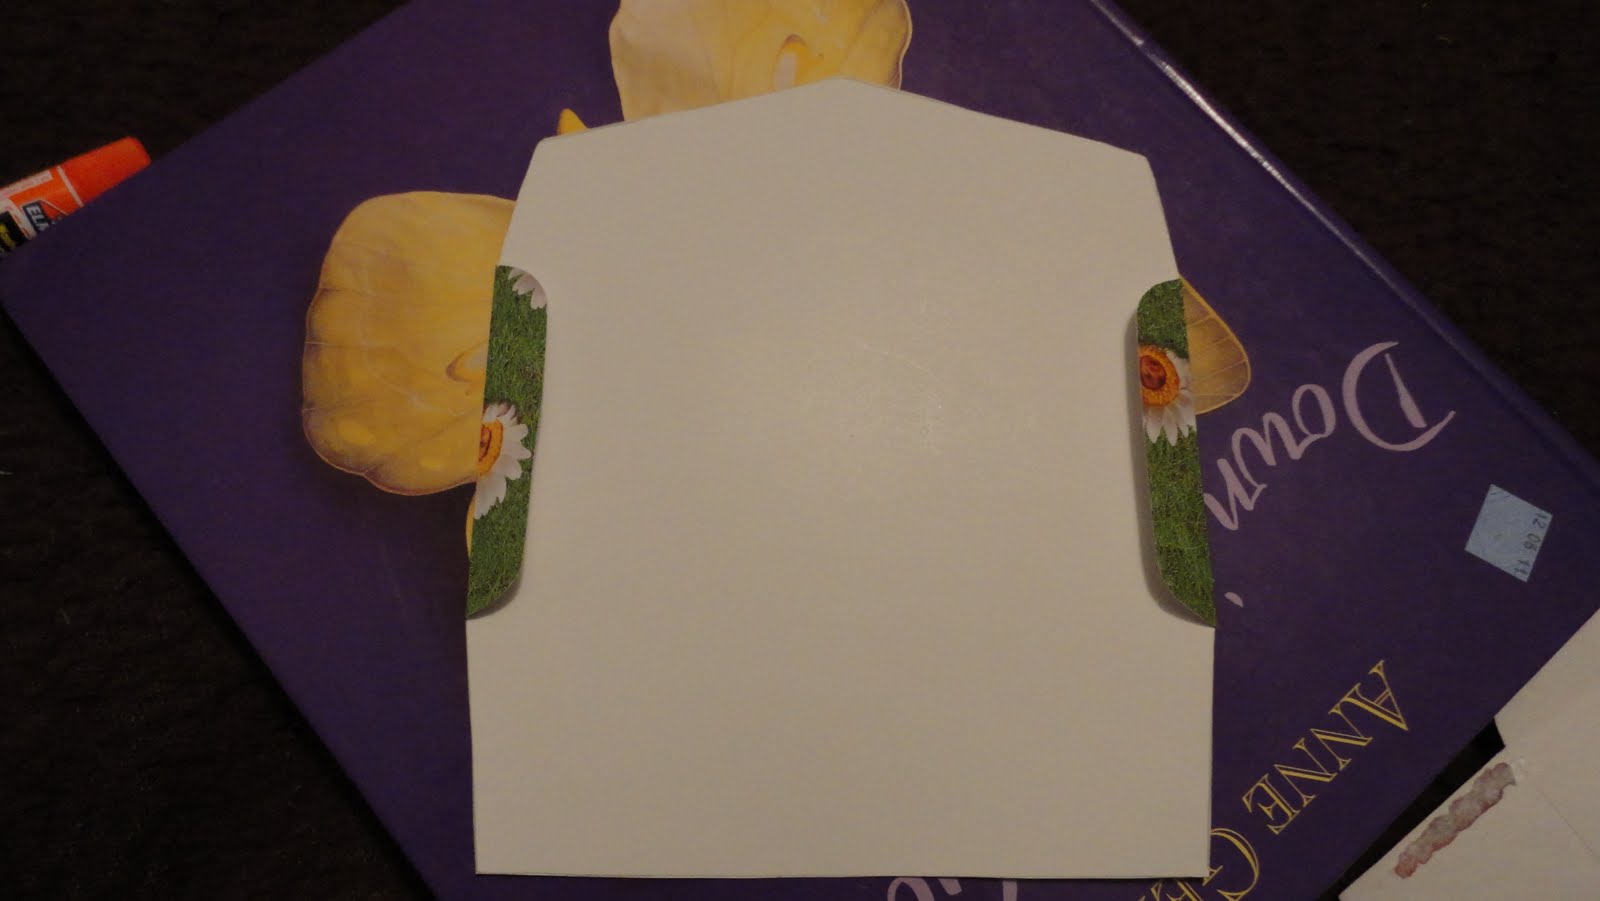
The finished product after cutting:

You are nearly there! Now, it is time to fold! There are two ways to do this. If you aren't confident about free-hand folding, you can use a ruler like I have shown below. I have been making envelopes for quite some time now, so free-handing it is super easy for me. Eventually, you get there, I promise! The folding process is pretty self explanatory, but I've included step by step photos form you anyways. :)

Fold the side flaps:

Here, both side flaps have been folded inward:
Once you have finished folding the sides, fold the bottom. I always go in this order. Sides, bottom, top. If you find something else easier, go for it!

And now the top!

So, you've folded everything. What now? Sticking time! Place a strip of glue on the side flaps making sure not to glue in the areas that the bottom flat will not cover. Once you've applied the glue, simple press the bottom flat to the side flaps! Make sure that you pay attention to the original folding order (bottom flap or side flaps or side flaps of bottom flap etc.)on the template/deconstructed envelope you used for tracing.

I choose to use regular old glue sticks to stick the sides together and when I use my envelopes for personal use, I seal them with either regular tape or glue stick. It's a bit different when I am crafting them for other people. I prefer to line the top flap with a few strips of double stick tape (the type where you peel the paper off.) to allow for easier sealing.

And TA-DAHHHH! The finished product!

See? It's easy! Now you try! I would love to see photos of your results! Comment with photos if you can!


No comments:
Post a Comment